A contractor's guide to cleaning pavers without stripping joint sand or etching: safe PSI, nozzles, the right cleaners, re-sanding, and sealing for MA patios.
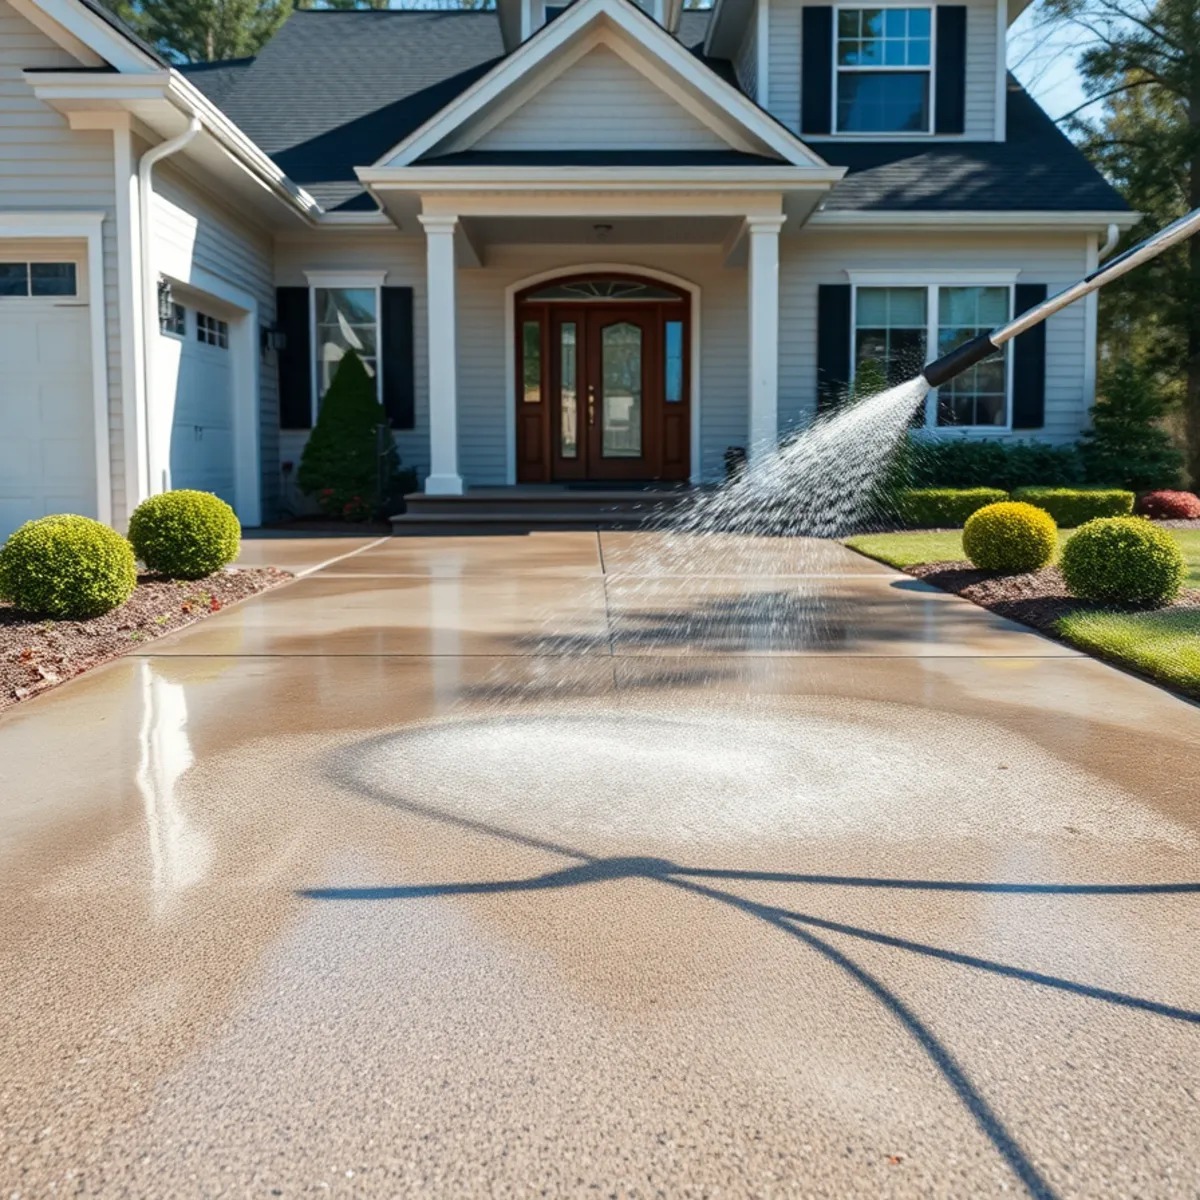
A paver patio is one of the best hardscape investments a Massachusetts homeowner can make, but it is also one of the easiest surfaces to ruin with a cleaning tool you already own. The single biggest mistake we see is treating pavers like a concrete slab and blasting them with raw pressure. This guide gives you the exact method, chemistry, and PSI numbers to bring pavers back to like-new condition without stripping joint sand, etching the surface, or shortening their life.
What "Damage" Actually Means When You Clean Pavers
Before you touch a hose, it helps to know what you are trying to avoid. Pavers fail differently than poured concrete, and most of that failure is invisible until weeks later.
- Lost joint sand. The fine sand packed between pavers locks each unit in place. Blast it out and pavers wobble, shift, and grow weeds. This is the most common self-inflicted damage.
- Surface etching and spalling. Too much pressure flakes the wear layer off concrete pavers, exposing rough aggregate and creating cloudy, pitted patches that trap dirt faster.
- Discoloration and fading. Harsh acids and overused chlorine bleach can bleach out the pigment in concrete pavers and stain natural stone, leaving permanent light spots.
- Shifting and heaving. Once joint sand is gone, water gets under the pavers. In our freeze-thaw climate it freezes, expands, and lifts the pavers into a tripping hazard.
The whole philosophy here is simple: you don't need more pressure, you need the right chemistry. Pressure does not kill the algae and moss that discolor pavers. Biodegradable surfactants and the right cleaner do. Pressure should only rinse away what the chemistry has already loosened.
Know Your Paver Material First
Cleaning approach changes with material. Identify what you have before choosing a cleaner, because the wrong product on the wrong stone causes the discoloration you were trying to remove.
Interlocking Concrete Pavers
The most common type on Massachusetts driveways and patios. Durable but porous, so they hold algae, moss, oil, and efflorescence. They tolerate moderate pressure but pit and spall if you get aggressive or hold the wand too close.
Brick and Clay Pavers
Common on older and historic New England walkways, colonials, and Victorians. Clay holds its color beautifully, but the units are softer and the joints are often sand-set and fragile. Acidic cleaners can discolor brick, so product selection matters. Historic brick should never see more than about 400 PSI. Our brick cleaning method is built around protecting that finish.
Natural Stone: Travertine, Bluestone, Granite
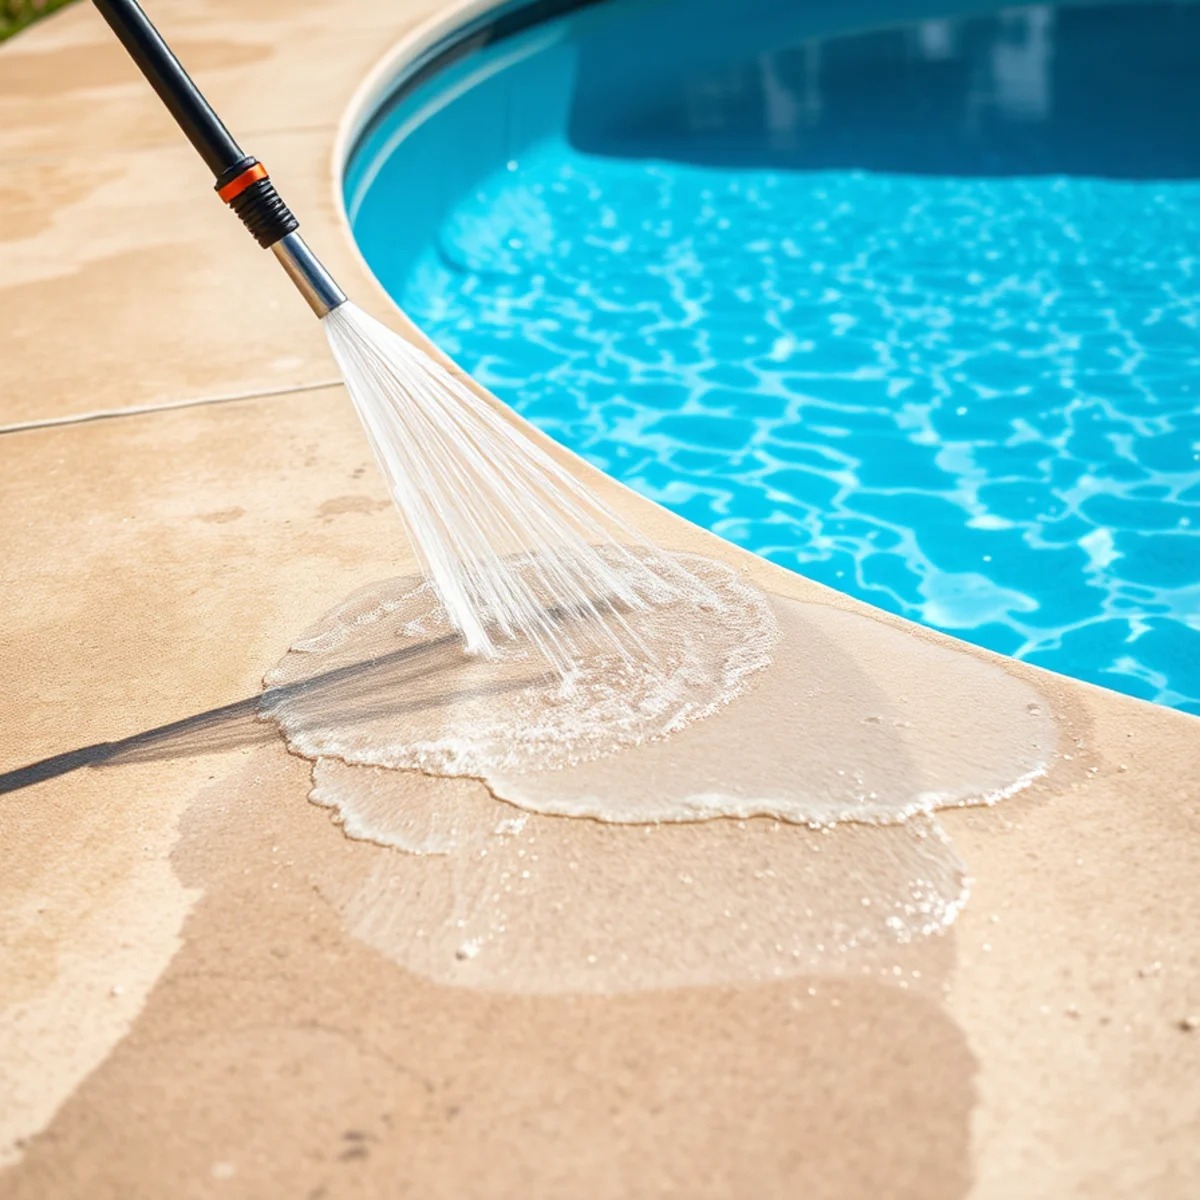
Bluestone and granite are regionally popular on higher-end and historic MA patios; travertine shows up on pool decks. Natural stone is porous and acid-sensitive. Vinegar, muriatic acid, and many off-the-shelf cleaners will etch and dull it permanently. These surfaces almost always call for a low-pressure, pH-neutral approach.
When in doubt, test any cleaner and any pressure setting in an inconspicuous area first and let it fully dry before judging the result.
What Actually Damages Pavers When You Clean Them
Most of the ruined patios we are called to fix come down to the same handful of avoidable errors.
- Too much PSI. A consumer pressure washer can produce 2,000 to 3,000 PSI. That is appropriate for a bare concrete driveway, not for paver joints.
- The zero-degree tip. The red zero-degree and even the yellow 15-degree tips concentrate the entire stream into a point that gouges the surface and excavates joints in seconds.
- Blasting straight into the joints. Aiming the stream down into the seams between pavers is what evacuates the sand and starts the shifting and weed cycle.
- Harsh acids. Muriatic and other strong acids etch natural stone, discolor concrete pigment, and corrode anything metal nearby.
- Bleach overuse. Chlorine bleach (sodium hypochlorite) has its place, but used too strong or left to dry it fades color and kills the plants bordering your patio.
Step-by-Step: How to Clean Pavers Without Damage
This is the professional sequence. Notice how much happens before any pressure is involved.
- Sweep and blow off debris. Clear leaves, dirt, and loose grit with a stiff broom or leaf blower. Pull any weeds in the joints by hand and move furniture, planters, and grills out of the way.
- Pre-rinse the surface. Wet the pavers and the surrounding landscaping with a garden hose. A pre-soak keeps the cleaner from absorbing unevenly and protects nearby plants from runoff.
- Apply a gentle cleaner. Use a paver-safe cleaner, a mild dish soap solution, or a properly diluted sodium hypochlorite mix to kill algae, moss, and mildew at the root. This is the most important step, because the cleaner does the work pressure should never have to.
- Let it dwell. Give the solution several minutes of dwell time to break down organic growth and lift stains. Never let it dry on the surface; keep it wet and reapply if it starts to dry.
- Scrub the stubborn spots. Work a stiff-bristle brush (or a soft-bristle brush on natural stone) over heavy stains and growth. Agitation beats pressure every time.
- Rinse at low pressure. Rinse with a wide fan tip, keeping dirt moving off the surface in steady overlapping passes. The grime should release without you leaning in.
- Re-sand the joints and consider sealing. Once dry, refill the joints (covered below) and decide whether to seal.
This is a soft washing philosophy applied to hardscape: chemistry first, pressure last. It removes growth at the source instead of scouring, so results last months longer than a quick blast-and-rinse.
Can You Clean Pavers Without a Pressure Washer?
Yes, and for small walkways it is often the smarter choice. A garden hose, a bucket of cleaner, and a stiff brush handle most light algae and dirt with zero risk of joint-sand loss or etching. A pressure washer only saves time on large areas, and only when used correctly.
Best Cleaning Solutions for Pavers
The right product depends on the problem and the material. Here is how the common options stack up.
- Mild dish soap and water. The safest all-purpose option for routine dirt and light grime on any paver. Cheap, effective, plant-friendly.
- Dedicated paver cleaners. pH-balanced products formulated for hardscape. Worth it for tougher jobs and the only thing we recommend reaching for on natural stone.
- Oxygen bleach (sodium percarbonate). The safer bleach. It breaks down into oxygen, water, and soda ash, lifts organic stains and moss, and will not bleach plants or pigment the way chlorine does. This is the best choice for most DIYers tackling moss and algae.
- Chlorine bleach (sodium hypochlorite). Effective on heavy algae and mildew when properly diluted, but it must be controlled. Pre-wet plants, rinse thoroughly, and never let it dry. Skip it on colored concrete pavers if you can use oxygen bleach instead.
The Vinegar Debate
White vinegar gets recommended online constantly, and it is a trap on the wrong surface. Vinegar is a mild acid. On natural stone like travertine and bluestone it etches and dulls the finish, and on concrete pavers it can eat into the surface and pull color over time. For occasional weed-killing in joints it is fine, but as a general paver cleaner, oxygen bleach is safer and more effective.
Can You Pressure Wash Pavers Safely?
You can, with restraint. The Interlocking Concrete Pavement Institute (ICPI) and most paver manufacturers advise keeping pressure low and the tip wide. Here are the numbers that keep pavers intact.
- PSI: roughly 500 to 1,500. Plenty for paver grime. Stay at the low end on older or softer pavers and on natural stone. Save the 2,000 to 3,000 PSI for a bare concrete driveway, never pavers.
- Nozzle tip: 25-degree or 40-degree. The green 25-degree or white 40-degree fan tips spread the force out. Never use the red zero-degree tip on pavers.
- Distance: 12 to 18 inches. The closer you get, the more concentrated and damaging the stream. Keep the wand back.
- Angle: shallow and moving. Hold the wand at a low, consistent angle and keep it moving. Pausing for even a second leaves a clean ring or a gouge.
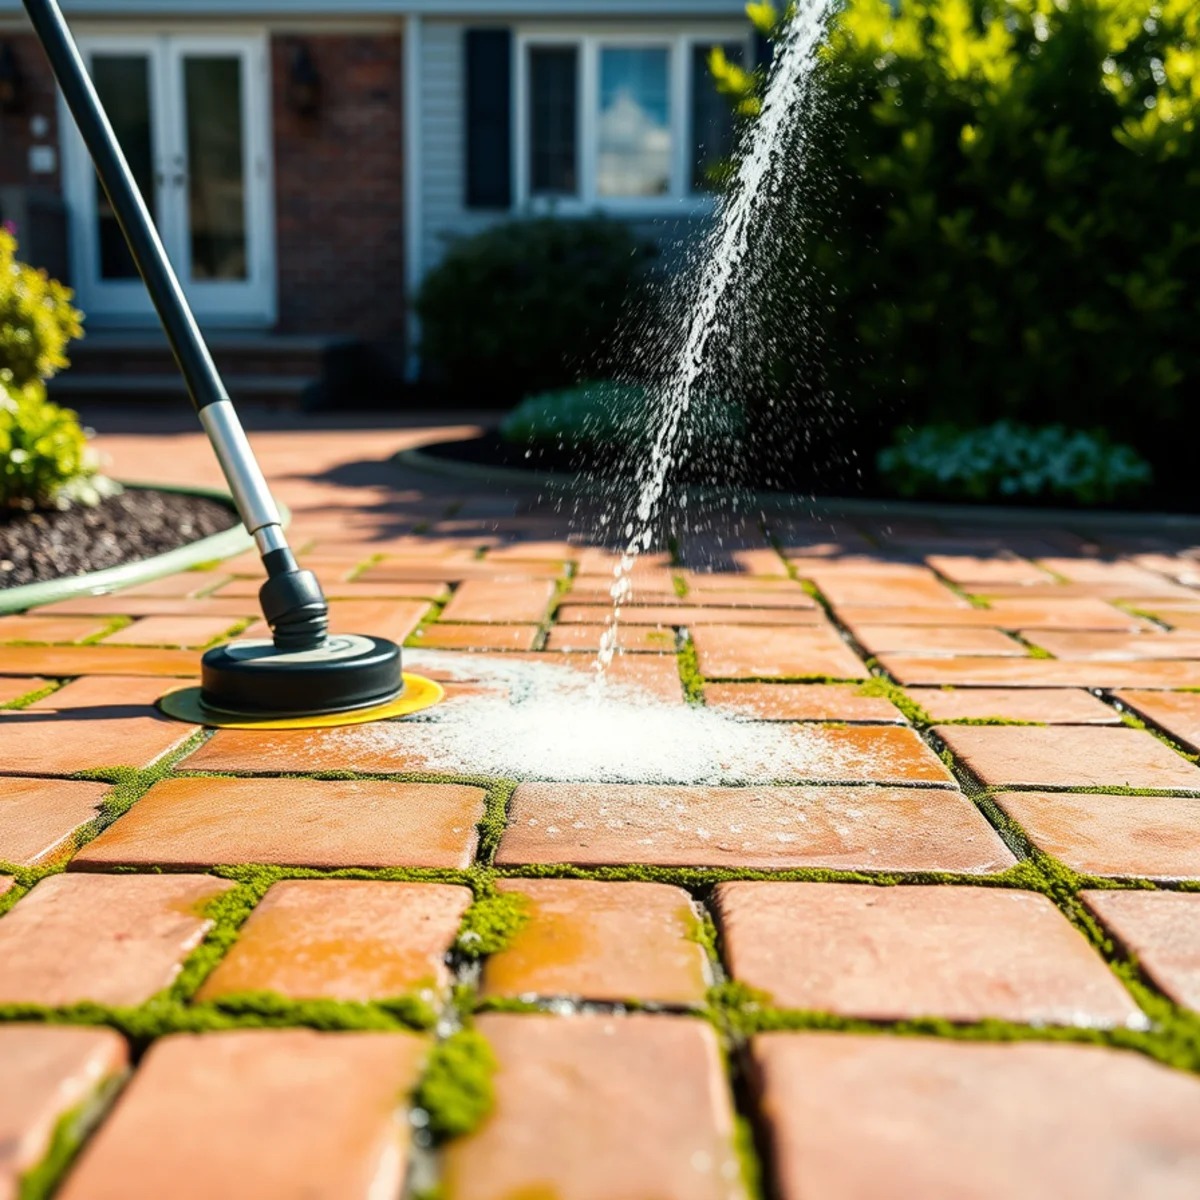
- Surface cleaner attachment. A flat surface cleaner is the safest power tool for large paver areas. It distributes pressure evenly and prevents the zebra-striping that a handheld wand leaves behind.
For more on which surfaces tolerate aggressive cleaning and which do not, our guide on what surfaces should not be pressure washed is a useful companion. Pavers sit right on the line where technique matters most.
How to Pressure Wash Pavers Without Losing Joint Sand
This is the difference between a clean patio and a wobbly one.
- Keep the pressure low and the tip wide (40-degree fan).
- Never aim the stream straight down into the joints. That is exactly how the sand gets evacuated.
- Sweep at a shallow angle across the pavers, pushing water over the surface rather than into the seams.
- Accept that some sand will move even with perfect technique. Plan to re-sand afterward; it is part of the job, not a sign you did it wrong.
Removing Specific Paver Problems
Different stains need different chemistry. Pressure rarely solves any of these on its own.
- Moss, algae, and lichen. Kill the root with oxygen bleach or a controlled sodium hypochlorite solution, dwell, then rinse. Scraping only removes the top and it returns fast. This is the core of professional moss and lichen removal.
- Weeds between pavers. Pull them, treat the joints, and re-sand with polymeric sand to block future growth.
- Efflorescence. That chalky white haze is mineral salt rising through the paver as moisture evaporates. Pressure will not remove it and can make it worse. It needs a dedicated efflorescence remover and a gentle rinse.
- Oil and grease. Blot fresh spills, then apply a degreaser or poultice and let it pull the stain out. Our oil stain removal handles set-in driveway stains.
- Rust. From metal furniture, fertilizer, or well water. Rust needs a specific oxalic-based remover, not bleach or pressure. See rust removal.
- Tannin and leaf stains. The brown ghosting from wet leaves and acorns responds well to oxygen bleach and a stiff-brush scrub.
Re-Sanding the Joints After Cleaning
Cleaning almost always removes some joint sand, and pavers without full joints are vulnerable to shifting and freeze-thaw heaving. Refilling them is not optional in New England.
Polymeric Sand vs Regular Joint Sand
- Regular joint sand is cheaper and easy to sweep in, but it washes out faster and does little to stop weeds.
- Polymeric sand contains a binder that hardens when misted with water, locking the joints, resisting washout, and blocking most weed growth. For a Massachusetts patio that faces freeze-thaw cycles, polymeric sand is the better long-term choice.
To re-sand: let the pavers dry completely, sweep the sand into the joints, compact it, brush off the excess, then mist lightly to activate the binder. Follow the product's directions exactly; too much water floods binder to the surface and leaves a haze.
Should You Seal Pavers After Cleaning?
Sealing is optional but worthwhile. A quality paver sealer protects color, resists oil and efflorescence, and makes every future cleaning easier. Timing is where people go wrong.
- Wait for a full dry-out. Seal only when the pavers are completely dry, generally at least 24 hours after washing, longer in humid weather.
- Let polymeric sand cure first. If you re-sanded with polymeric sand, give it time to fully cure before sealing, commonly up to about 30 days per manufacturer guidance. Sealing over uncured sand traps moisture and causes a cloudy finish.
- Penetrating vs film-forming. Penetrating sealers soak in and protect without changing appearance; film-forming sealers add a "wet look" sheen but can peel if applied over damp pavers.
- Reapply every few years. Most sealers last two to five years depending on traffic and sun. Reseal when water stops beading on the surface.
DIY vs Hiring a Professional
A small walkway in good shape is a fair weekend project if you have the right tip and a patient hand. The math changes fast for bigger or more delicate jobs.
Call a pro when you have a large patio or driveway, stained natural stone, stubborn efflorescence, deep oil stains, or any area that has already lost significant joint sand. Professional paver cleaning and patio cleaning include the right chemistry, calibrated low-pressure equipment, full re-sanding, and the option to seal, all done in a way that protects your investment instead of gambling with it. Our honest breakdown of DIY versus professional pressure washing lays out the trade-offs. Pavers are a surface where the cost of a mistake often exceeds the cost of doing it right.
When you do hire, ask any contractor for proof of insurance, and confirm HIC registration on larger contracting work as a matter of homeowner due diligence.
How Often Should You Clean Pavers?
Frequency depends mostly on sun and shade.
- Full sun, good drainage: a deeper clean once a year is usually enough.
- Partial shade or moderate tree cover: clean once or twice a year as algae and pollen build up.
- Heavy shade, north-facing, under tree canopy: these damp spots breed moss and algae and often need attention two or more times a year.
For most Massachusetts homeowners the rhythm is a thorough cleaning in late spring after the last frost and pollen drop, with a lighter pass in early fall.
Massachusetts-Specific Paver Care
New England weather is hard on hardscape, and a few regional issues come up on nearly every local job.
Winter Salt Stains and Spring Grit
De-icing rock salt and sand from MA roads leave white residue and abrasive grit on pavers every spring. Salt accelerates surface deterioration and contributes to spalling, so rinse and scrub it off promptly once the snow is gone. Homeowners across Boston and the South Shore schedule paver cleaning as part of their spring reset.
Spring Pollen Film
The yellow pollen film that coats every patio in late spring is the most common trigger for the season's first cleaning. A gentle wash clears it without harming the surface.
Freeze-Thaw Heaving
Our winters cross the freezing line repeatedly. Water in under-filled joints freezes, expands, and lifts pavers into uneven, tripping-hazard surfaces. This is the single biggest reason we re-sand after every cleaning and why gentle methods matter more here than almost anywhere. It is the most common repair we make on older patios in towns like Worcester and across MetroWest.
Shady, Damp Moss
Humid summers and tree-shaded, north-facing yards make New England pavers a magnet for moss, algae, and lichen. Killing it with the right chemistry rather than scraping is the only way to keep it from returning, which is where our soft-wash expertise earns its keep on patios in Quincy and the surrounding suburbs.
Cost to Clean and Seal Pavers in Massachusetts
Pricing varies with size, condition, and sealing, so treat these as general industry estimates rather than a quote.
- Clean and seal commonly lands around $1 to $3 per square foot nationally, with a typical patio project in the rough $300 to $550 range as a ballpark estimate.
- Massachusetts reality: smaller patios often hit a contractor's minimum service fee, which pushes the effective per-foot cost toward the higher end. Re-sanding and premium sealers add to the total.
We do not quote sight-unseen because honest pricing depends on what your pavers actually need. A free on-site estimate gives you a real number.
Paver Cleaning Do's and Don'ts
Do:
- Identify your paver material before choosing a cleaner.
- Test any product in an inconspicuous area first.
- Lead with chemistry and dwell time, not pressure.
- Use a 25- or 40-degree tip, 500 to 1,500 PSI, 12 to 18 inches back.
- Re-sand the joints after every cleaning.
- Pre-wet and rinse nearby plants to protect your landscaping.
Don't:
- Use a zero-degree tip or aim into the joints.
- Reach for vinegar or harsh acid on natural stone.
- Let bleach dry on pavers or plants.
- Seal over damp pavers or uncured polymeric sand.
- Confuse a paver patio with a concrete slab and crank the pressure.
Pavers reward patience and punish brute force. If your patio, walkway, or driveway needs a careful hand, the family-run, fully insured team at Wash Bros brings a chemistry-first, surface-appropriate approach to hardscape across Massachusetts. Contact us for a free estimate or call +1 (351) 242-0666, and we will assess your pavers and recommend the safest method to bring them back without the risk of damage.
Frequently Asked Questions
Need Professional Exterior Cleaning?
Wash Bros provides affordable, dependable pressure washing across Massachusetts. Get your free estimate today.
Get a Free Estimate